Hiking Trails in Vancouver
If you’re like us, sometimes all we need is an escape. Sure, we can opt for a walk in Stanley Park, but it feels different when you’re walking in lush forests, with nothing but you and the sound of birds chirping and leaves rustling in the wind.
That’s why we love to go on hikes and explore the beautiful trails that Vancouver has to offer, and we’ve listed them down for you because we’re not one to gatekeep. So, are you with us? Let’s go!
Vancouver Hiking Trails
1. Sasamat Trail
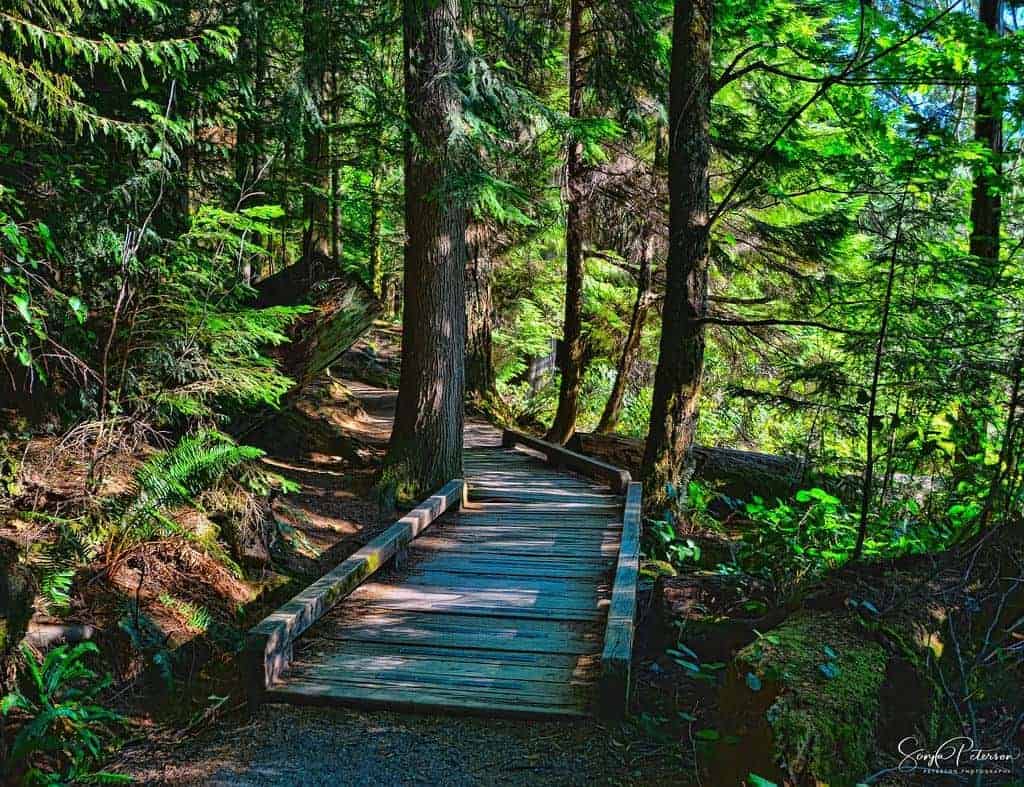
We’ve gotta admit, this was a pretty easy hike. We found ourselves in Port Moody a while back, and we decided to visit Belcarra Regional Park, which was only a 12-minute drive.
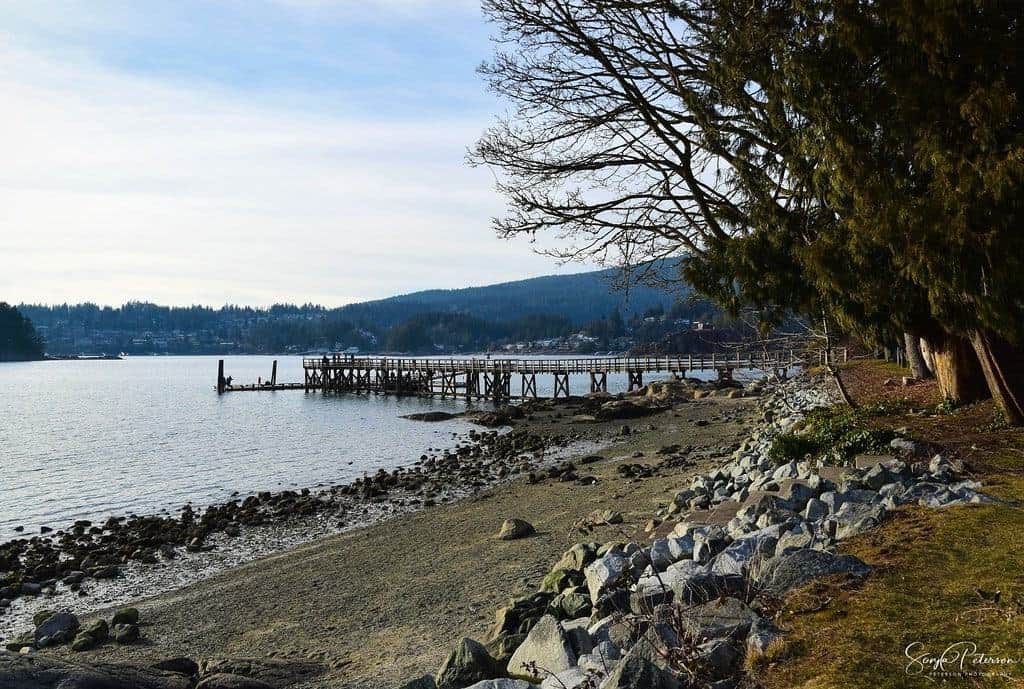
It was then that we stumbled upon the Sasamat Lake trail. It’s a pretty wide trail, and we noticed how well-kept it was, as the trail was relatively clean and free of debris. The hike itself is mostly flat, but some areas have stairs to climb.
There’s also an abundance of mighty trees and ferns on the trail, but what we noticed was that there are a lot of dogs, which we’re not really complaining about.
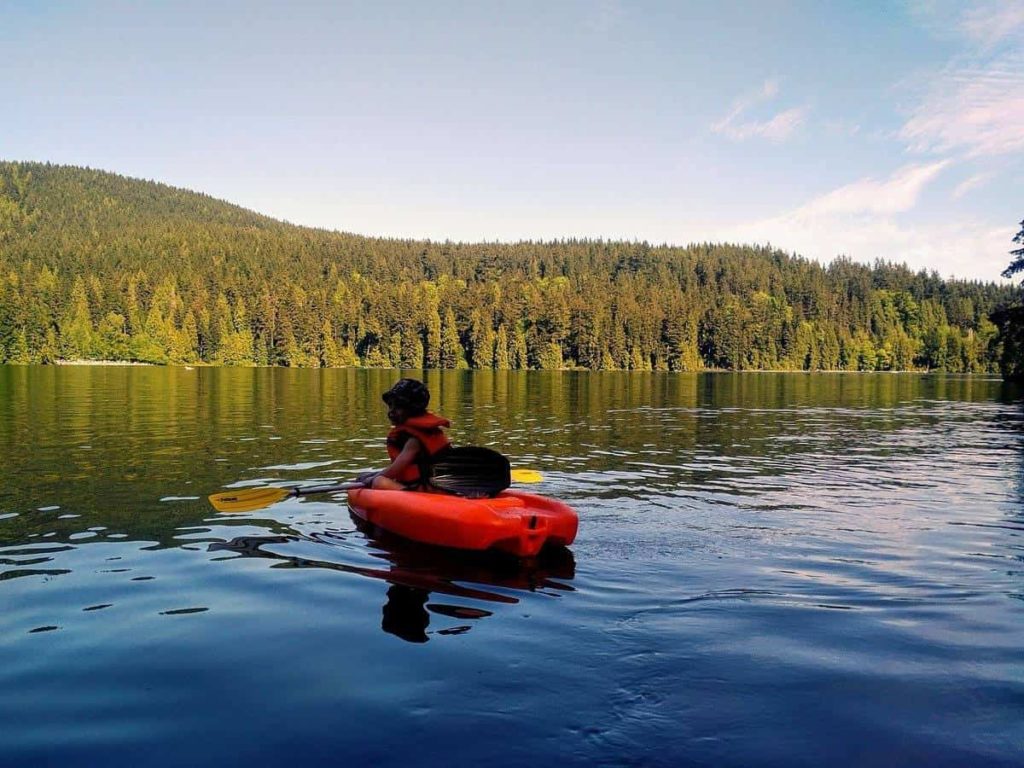
The icing on the cake is that we get to dip in the lake after. Or, you can also go swimming and kayaking; just remember to bring your own canoe, as we forgot ours and were left to watch others who brought theirs in jealousy.
How to Get There
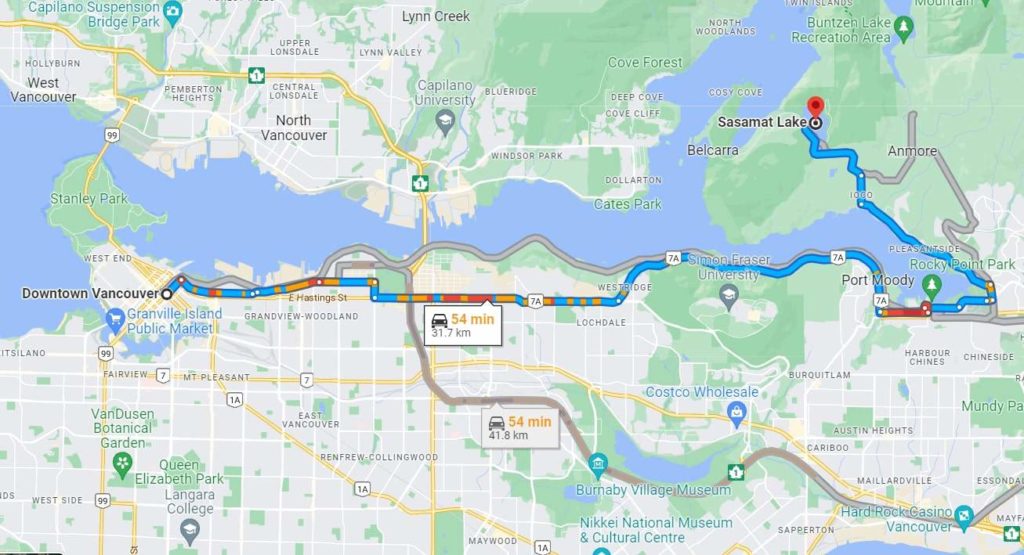
To get to the Sasamat Lake Trail, head to Hastings Street and take East to Burnaby. Once you’re on the Barnett Highway, keep driving until you reach the end of the highway in Port Moody.
Then, take St. John’s Street and drive toward Ioco Road until the 3rd traffic light, where the road continues to the left. At this point, you’ll be seeing lots of houses along the shoreline. Just keep driving until you see 1st Avenue, where you will turn right.
Next, you’ll find yourself on Bedwell Bay Road, where you can see signs for Sasamat Lake and White Pine Beach. Just follow the signs!
Get driving directions here.
2. Fraser River Trail
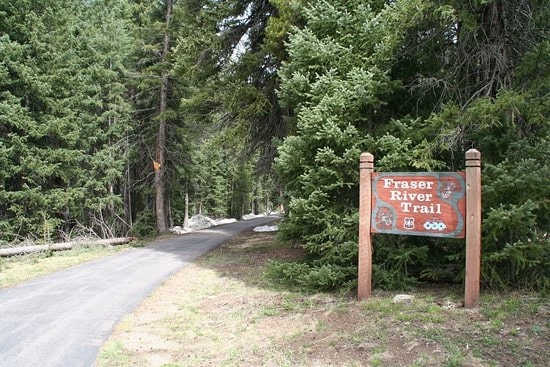
The Fraser River Trail is a bit difficult to access by public transit as it’s right at the south end of Byrne Road, so maybe bring your car for this hiking trip. But on the upside, it has lots of parking, so we were happy with that.
So the path starts with a paved road that you share with bikers, but then it becomes unpaved as you enter the nature conservation area.
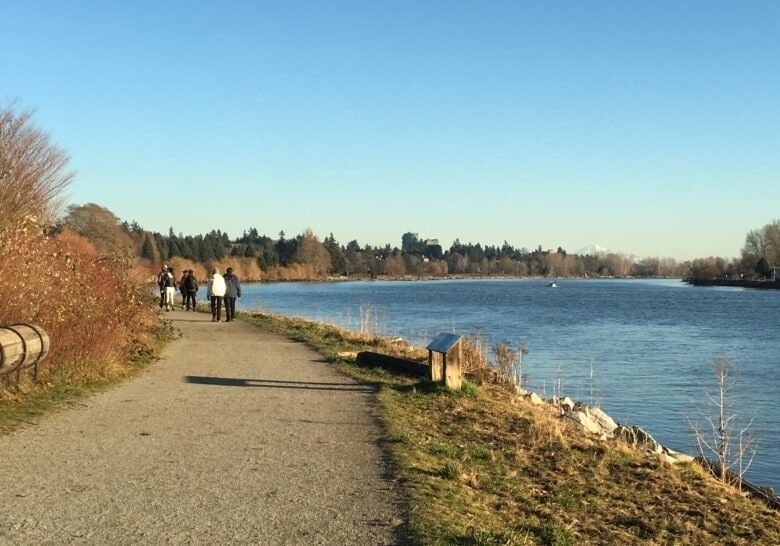
We were actually grateful that the trail was flat; otherwise, we would’ve tripped because we couldn’t get enough of the scenic views of the Fraser River.
We could easily spend a few hours on this trail as there are lots of opportunities to observe wildlife and there are lots of boats going in and out of the river.
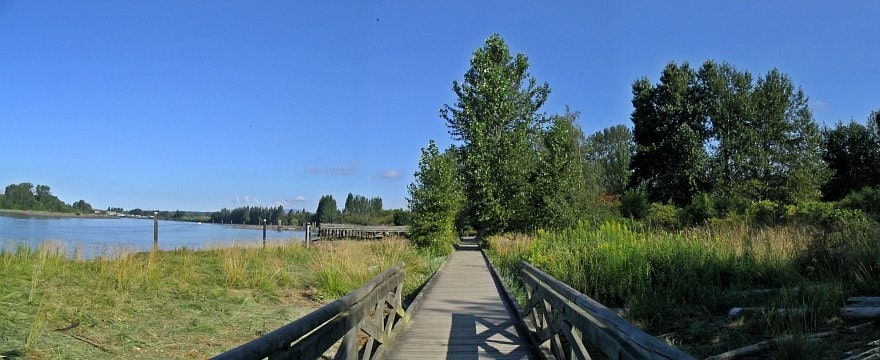
In addition to the great trails stretching along the Fraser River, there are a lot of picnic benches, restrooms, and water fountains. We were also surprised to see a playground for kids that includes a pirate’s castle!
How to Get There
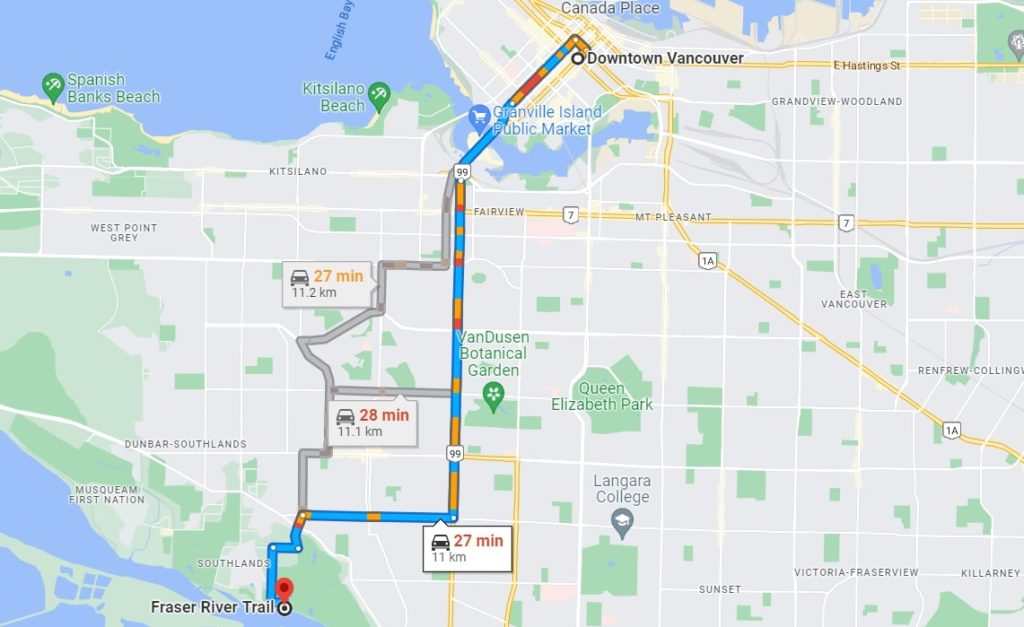
From downtown Vancouver, take Granville Street and take BC-99 to W 49th Avenue. Continue driving, and when you spot McCleery Park, get ready to take a left onto Macdonald Street.
Next, keep driving until you’re in Carnarvon Street, then take a left to Celtic Avenue!
Get driving directions here.
3. Salish Trail
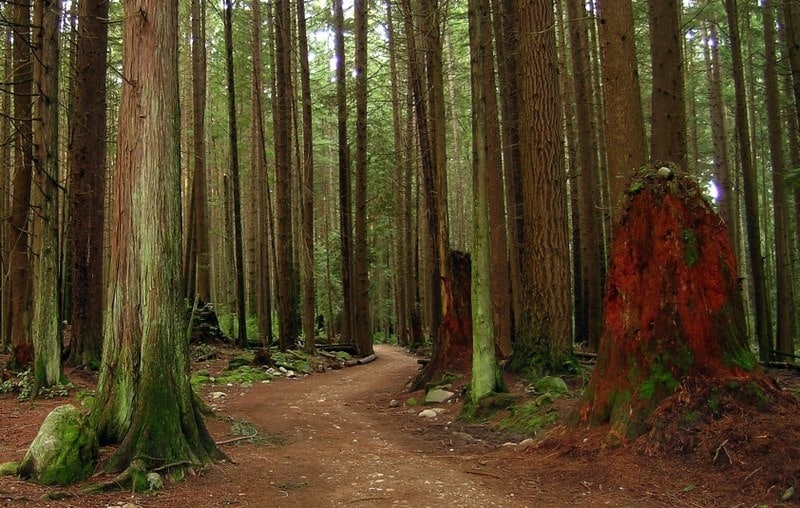
Listen, if you want to be swept away from the hustle and bustle of busy city life, the Salish Trail might just be your new best friend. The trail was so quiet that it overwhelmed us. Probably because the trails are well away from traffic and houses.
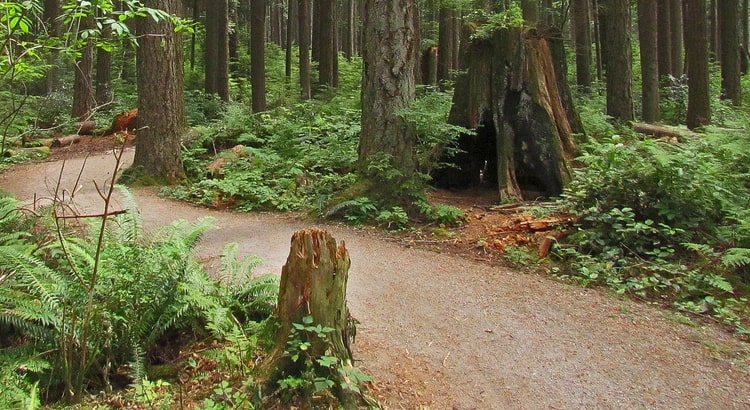
The Salish Trail is a part of the Pacific Spirit Regional Park, and there are plenty of signs and maps at many of the trail intersections, so don’t worry about getting lost. The trails are very wide and easy to walk; there’s not a lot of elevation change either.
And the best part? There’s a lot of tree coverage, so despite the rain, you can still enjoy a nice walk without getting too wet.
How to Get There
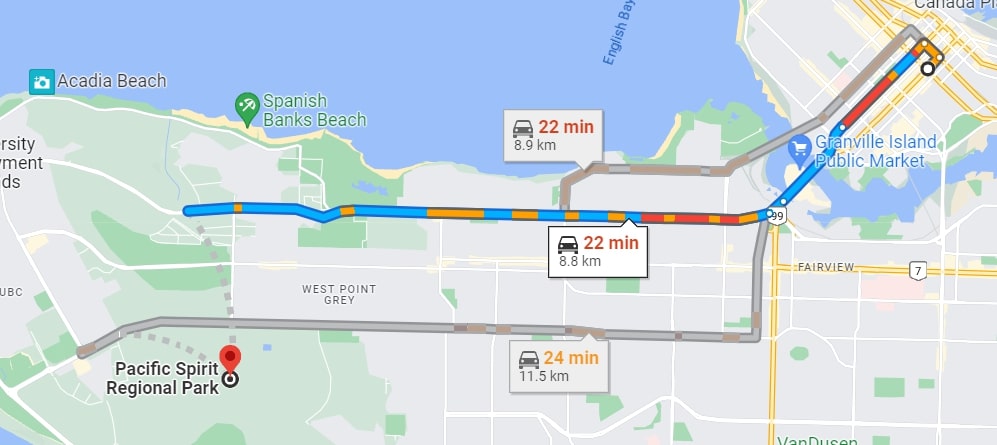
The starting point of the trail is at 16th Avenue, near Camosun Park. So from downtown Vancouver, drive south over the Granville Street bridge to 16th Avenue. Turn right, then continue driving until you spot Camosun Park on your left.
Get driving directions here.
4. Stawamus Chief Trail
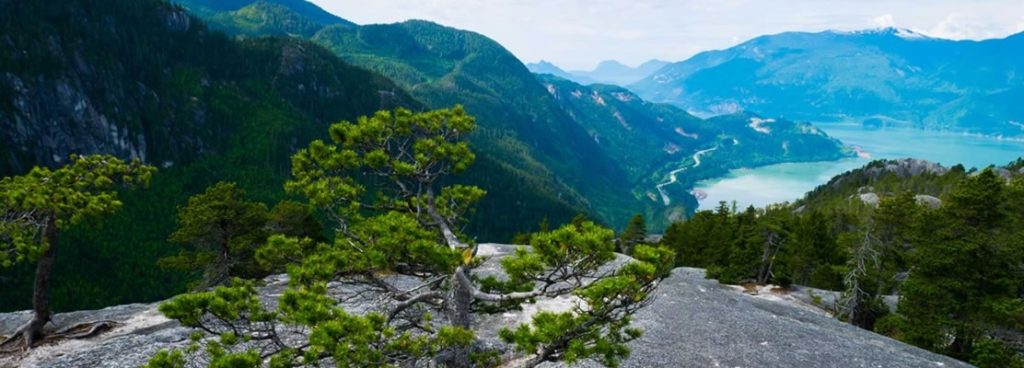
First off, we want to let you know how breathtaking this hike is, as the tops are exposed, so don’t do this hike without experience. It’s a moderate to hard trail, and we finished the trail in 4 to 5 hours.
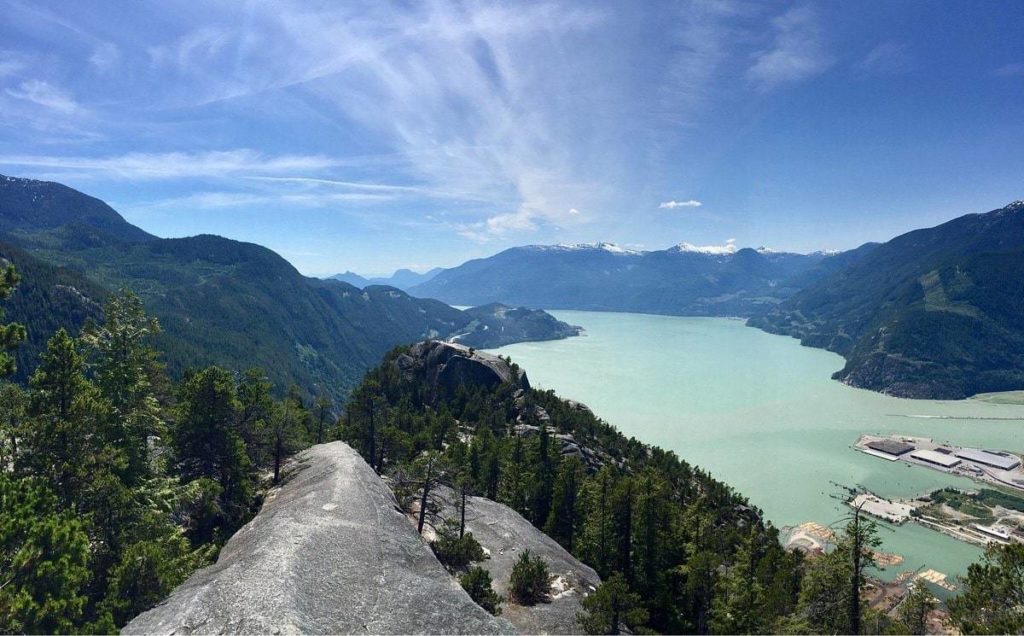
Boy, let us tell you, do not forget to bring water and energy snacks with you as there are some parts where you would need to climb up narrow ladders, but it’s definitely worth it on top as it offers beautiful views of the mountains. Just look at that view!
If you’re worried about the difficulty like us, please take your time and rest. Oh, and the trail gets a bit slippy when it’s raining so be aware of mud and rocks.
How to Get There
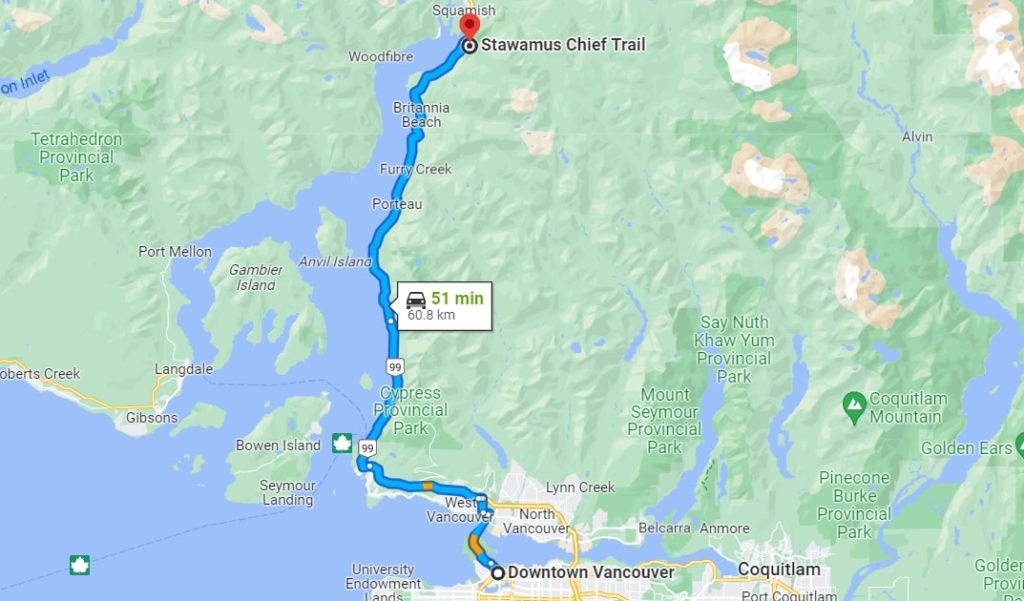
To get to the Stawamus Chief Trail, take Highway #1 westbound towards Horseshoe Bay and continue driving to the Sea to Sky Highway. After around 40 minutes, you will reach a traffic light near Shannon Falls.
When you reach the exit just beyond the Sea to Sky Gondola parking lot, turn right. Next, you will have to drive up a hill and park. The trailhead is near the south end of the parking lot.
Get driving directions here.
5. Mahon Park
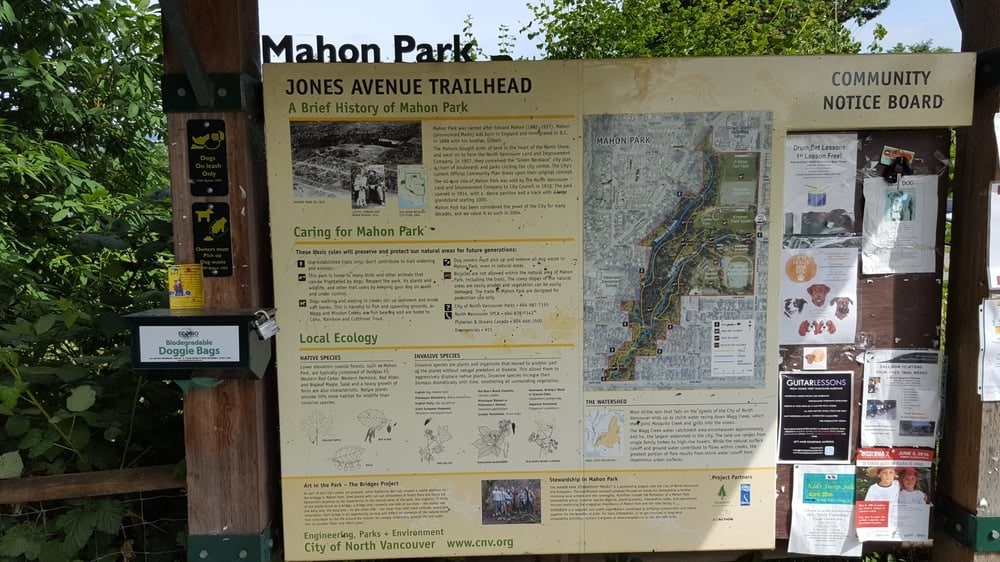
The Mahon Park trails are just right for Carson Graham High School in North Vancouver. It was a sunny day, and we thought, “Why not kill some time and take a nice walk around nature?”. That’s when we found ourselves in Mahon Park.
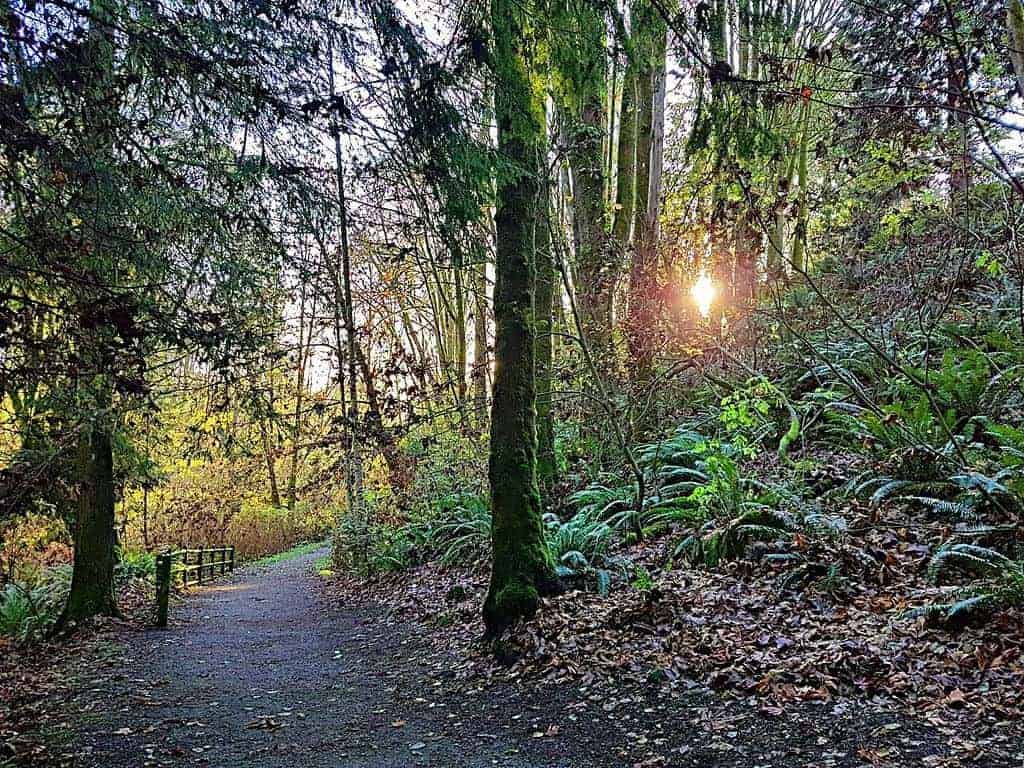
What you have to know is that there are plenty of stairs, but otherwise it’s a pretty easy hike with small inclines. There’s also a good variety of hills and streams feeding the creeks, which gives it a sort of enchanted forest vibe.
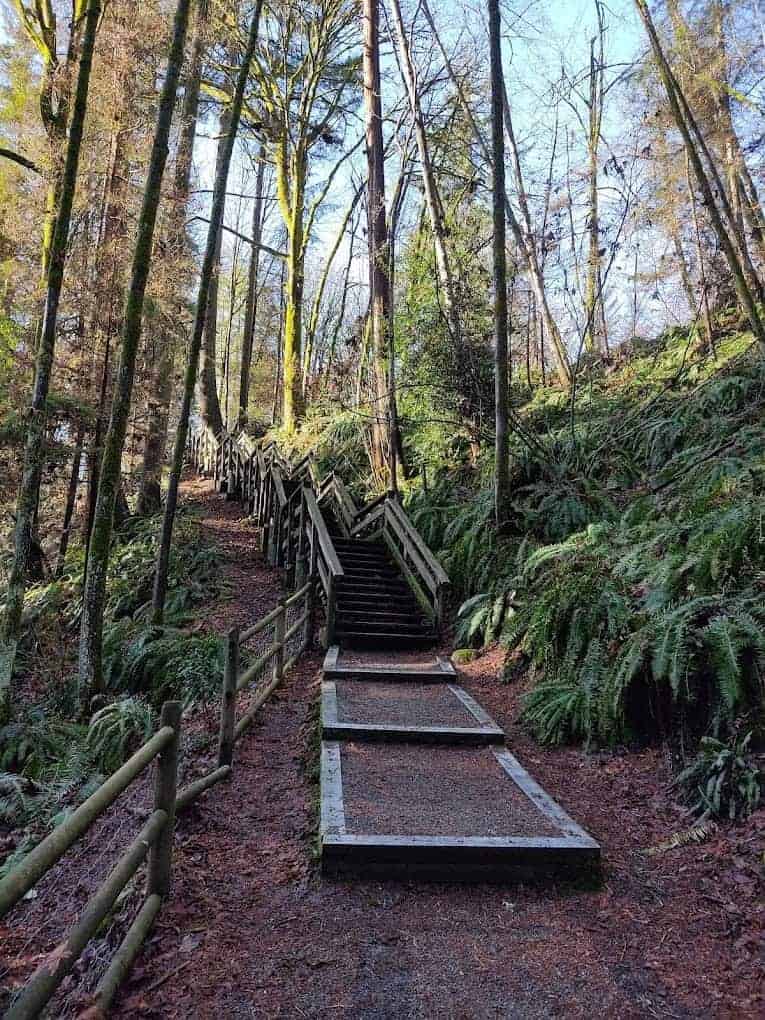
We highly recommend you go here if you want to take a not-so-easy but not-so-hard hike because this trail offers a great balance of nature and exercise. Plus, the park is easily accessible and has plenty of parking spots available.
How to Get There
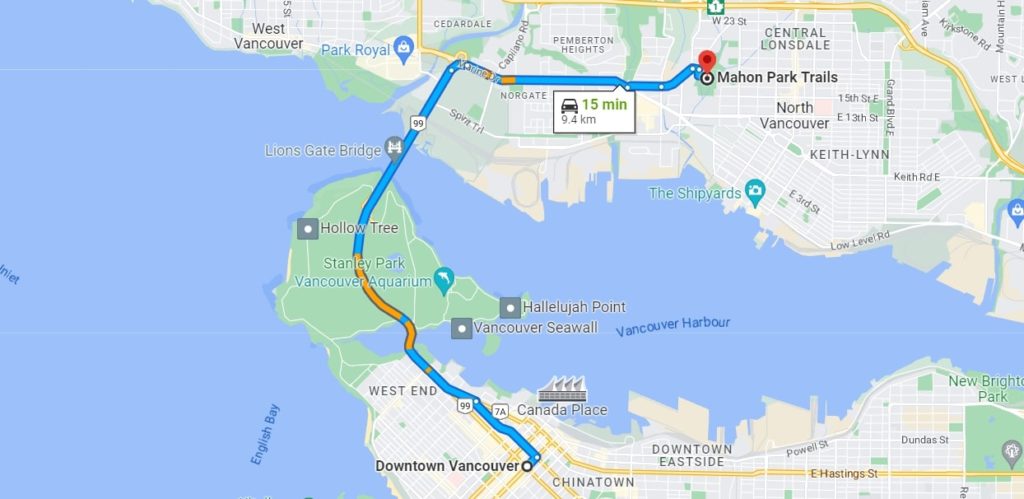
Take the BC-1A to Marine Drive in West Vancouver and drive towards Marine Drive Exit. From there, continue to Wolfe Street in North Vancouver and then you’ll arrive at Mahon Park.
Get driving directions here.
6. Capilano Canyon
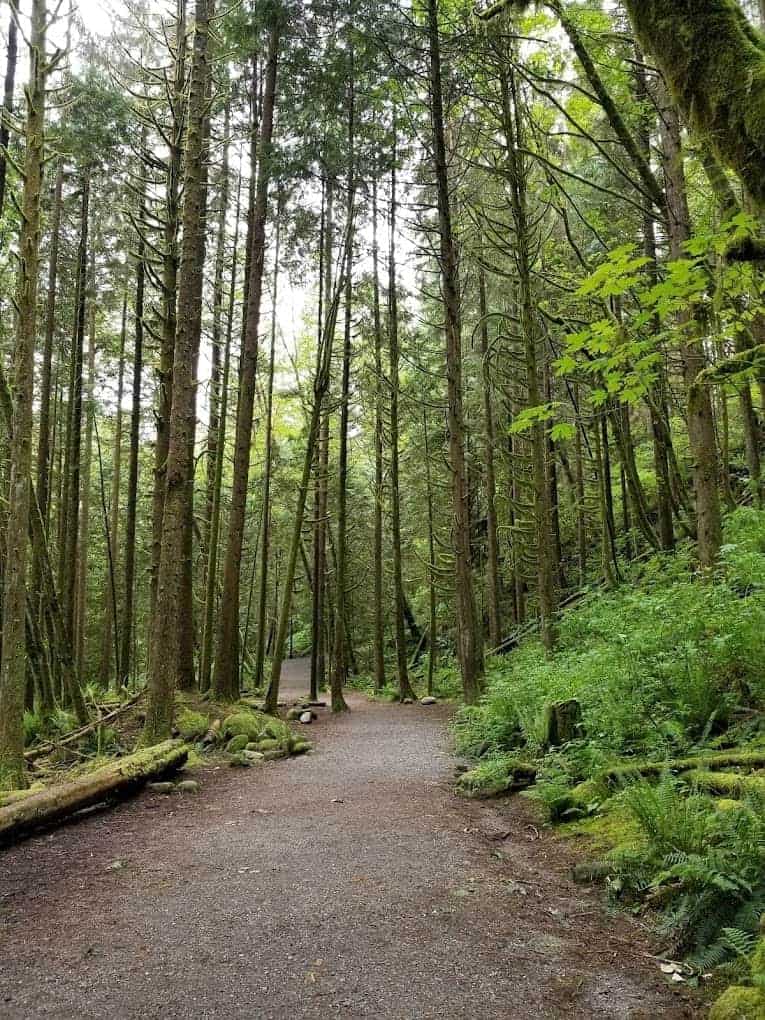
This trail offers unobstructed views of the mountains, Capilano River, and Cleveland Dam. Given the tall Douglas firs all around us, we must admit that we had a small picnic before beginning our hike.
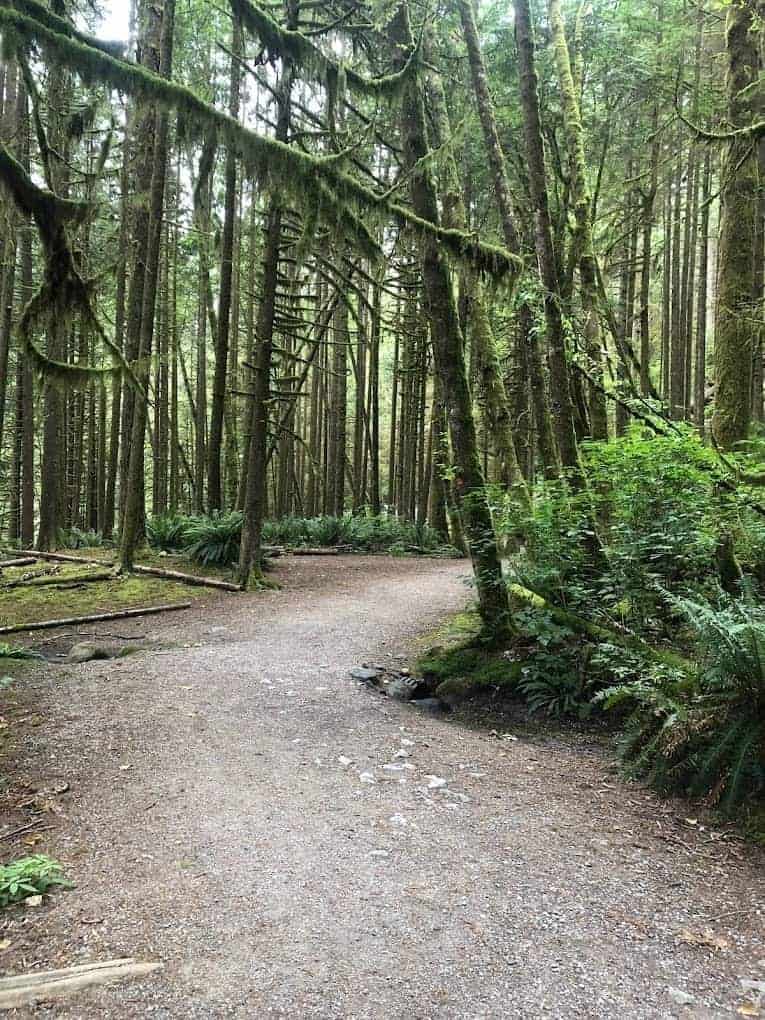
What you have to know about the Capilano Canyon trail is that it’s suitable for beginners and experienced hikers.
There are areas where the slopes can be pretty steep, though, but you’re going to appreciate that the trail is not crowded so you can take your time and rest if needed.
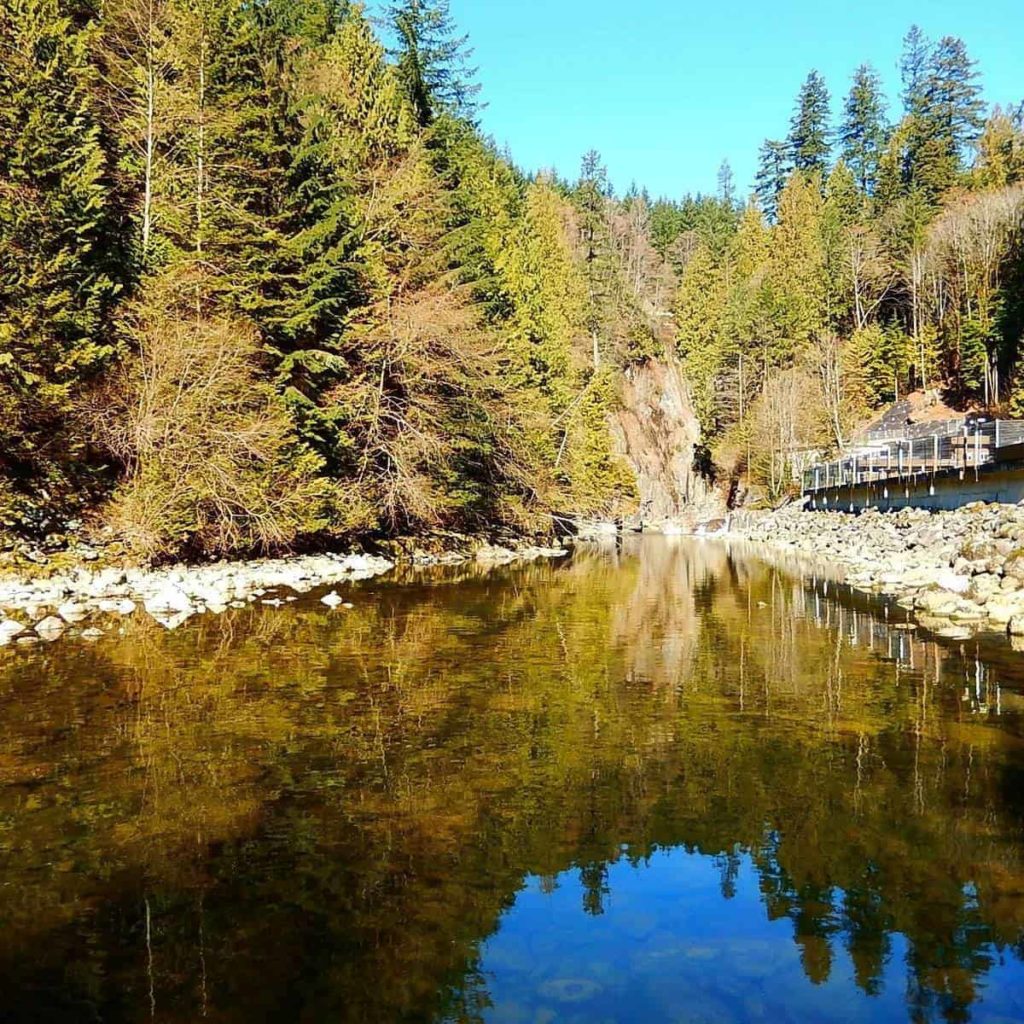
We were surprised that the trail led us right to the Capilano River, where we had a bit of a photo op, and the hatchery was a nice surprise and definitely one of the highlights of the trail.
How to Get There
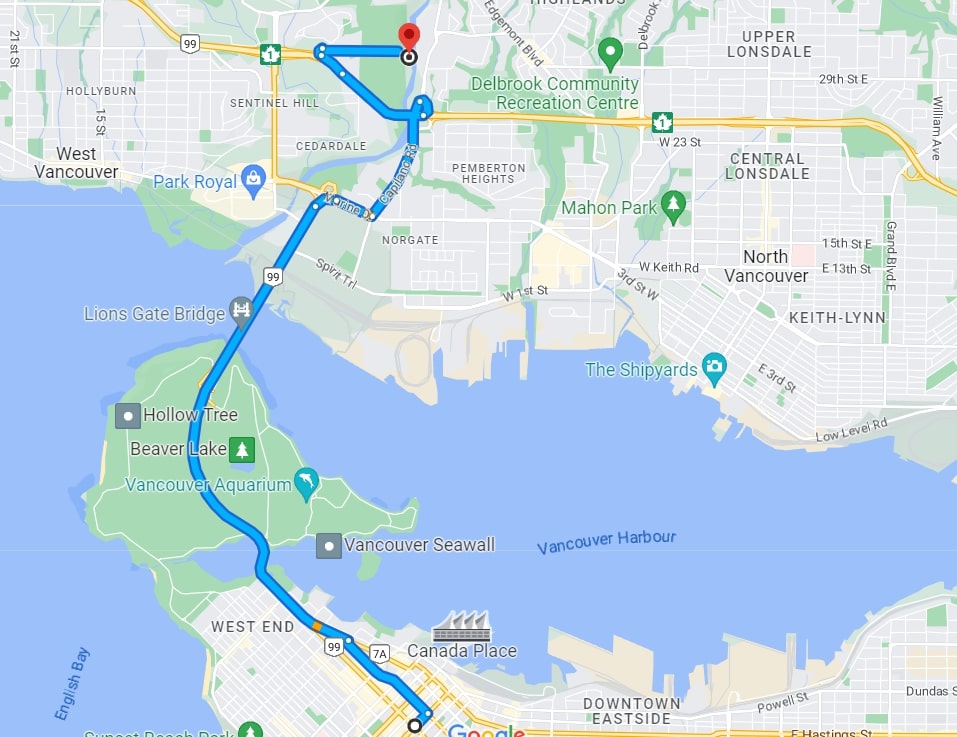
Head west along Georgia Street and drive towards the Stanley Park Causeway and across the Lions Gate Bridge.
After that, make a right onto North Vancouver and change lanes until you’re in the farthest two left lanes as you’re going to turn onto Capilano Road.
Once you’re on Capilano Road, you will pass the famous Capilano Suspension Bridge and Salmon Hatchery. You will then see signs for the Cleveland Dam and turn left to the parking lot.
Get driving directions here.
7. Lighthouse Park
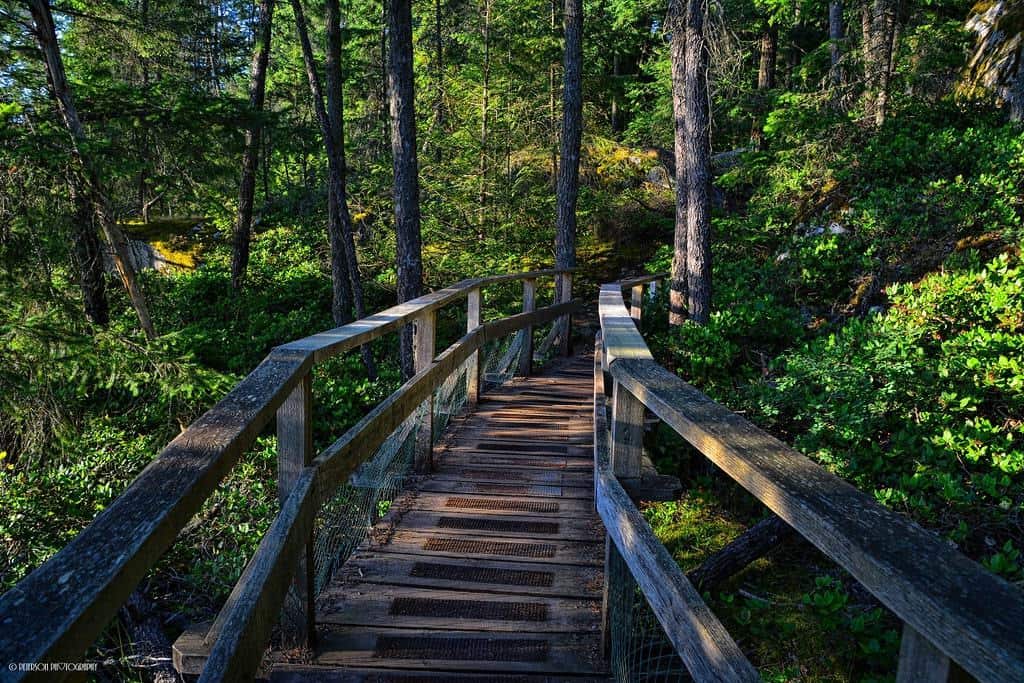
Let us tell you, our hike at the Lighthouse Park was the closest we’ve been to mother nature. The ocean view was amazing, and you can also see Vancouver’s cityscape.
It’s an easy and family-friendly hiking trail, but there are hiking trails for those who want to explore the woods. You can even spot a camp there that seems to be abandoned!
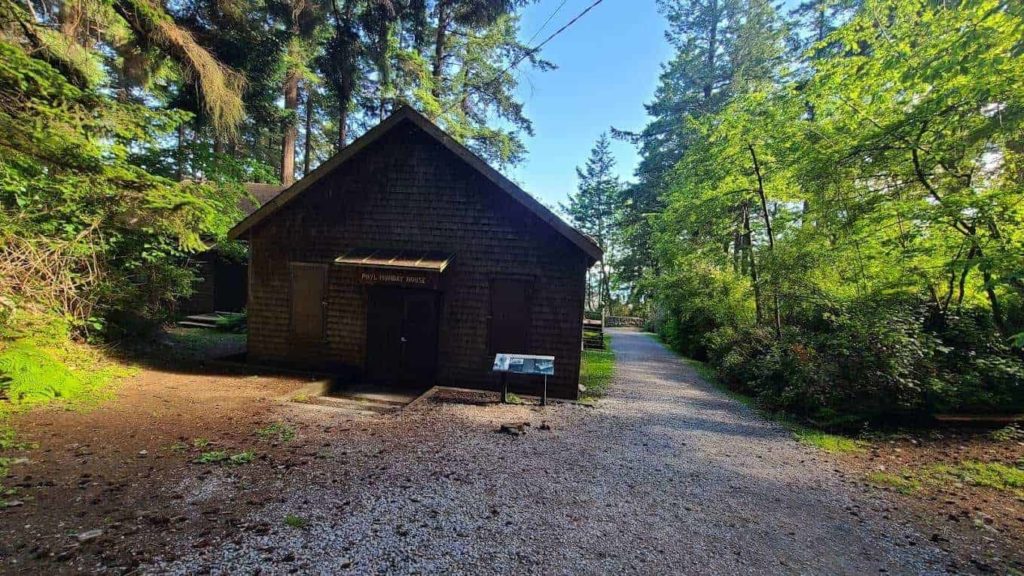
A friendly reminder to be careful when you’re climbing the rocks at the shore, as they can get slippery when it’s raining.
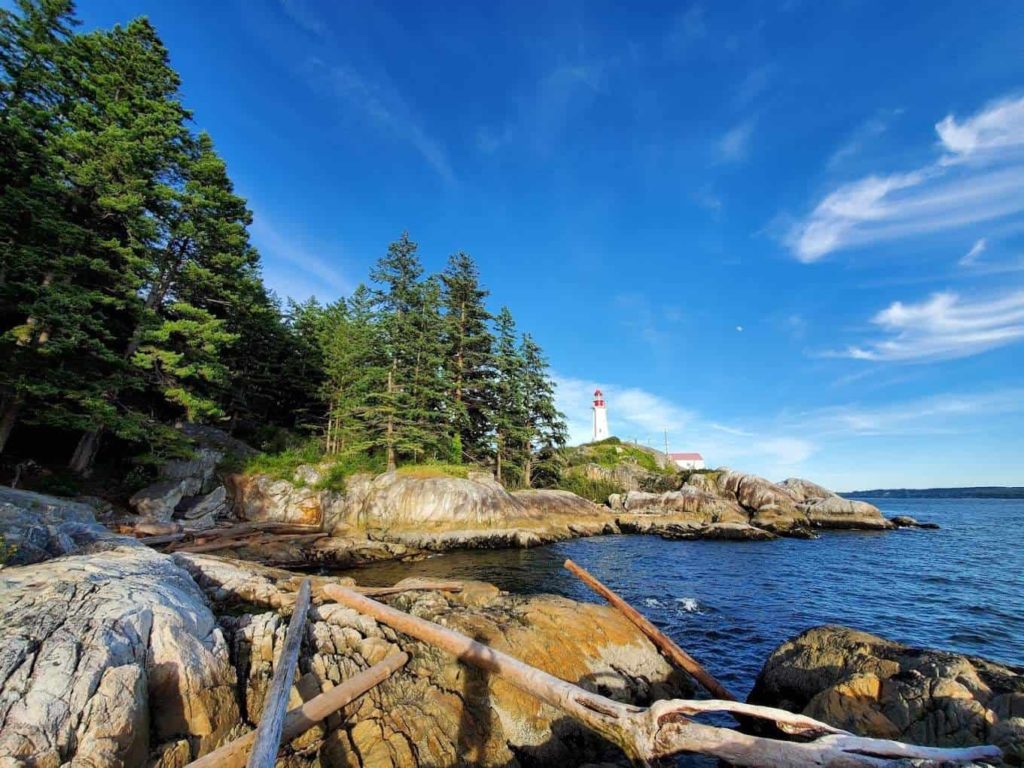
Maybe it would be wise to wear hiking shoes so you don’t accidentally slip, but the view from the rock is simply wonderful, making it worth the effort.
We highly suggest that you come here early in the morning to avoid the morning rush, as it can get crowded and parking spaces are limited.
How to Get There
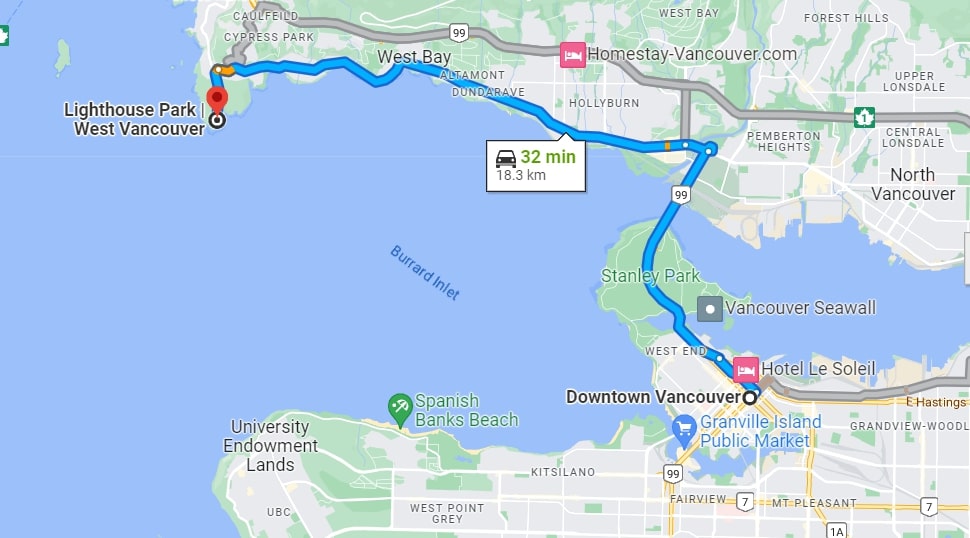
To get here, head towards Marine Drive located in West Vancouver. Continue driving past Caufield Cove marina and watch for signs for the Lighthouse Park. Take a left on Beacon Lane and keep driving straight until you reach the parking lot.
Get driving directions here.
8. Grouse Grind
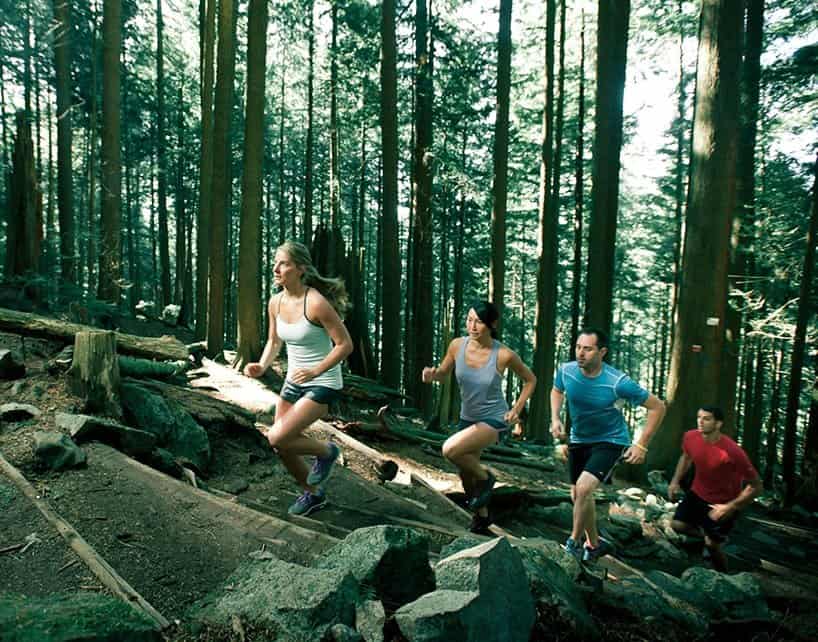
Now, let’s discuss the day we all passed out after a Grouse Grind hike. This was not an easy hike; in fact, we may have underestimated its title “Mother Nature’s Stairmaster”.
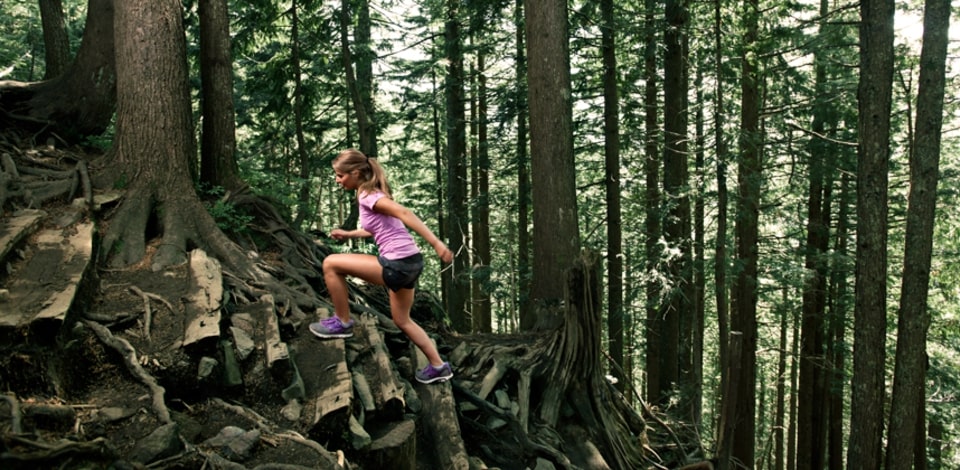
Now, if we were to describe the hike, it was a challenging 2.9-kilometer trail that involved climbing 2,830 stairs to reach the summit of Grouse Mountain.
There were also a lot of people because it was a weekend, so we chose to take fewer rest stops so we wouldn’t block others. The journey was steep, and the elevation of this trail was not for the faint-hearted.
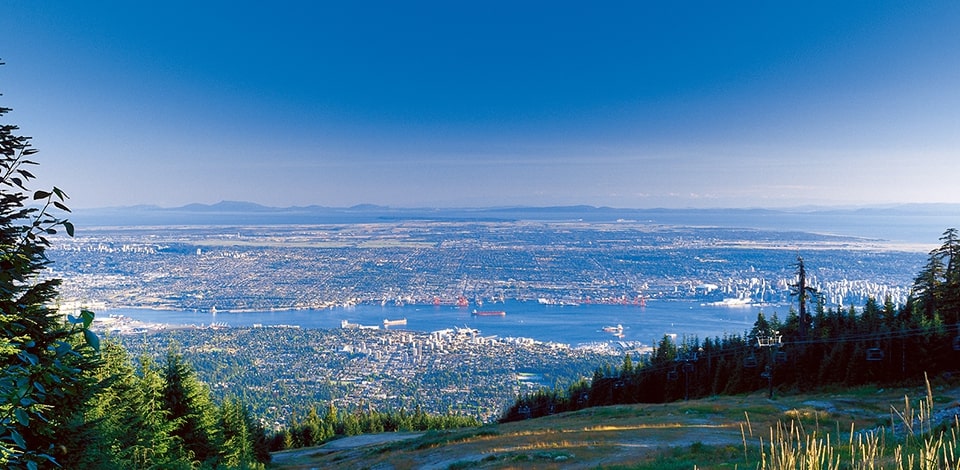
But despite the exhaustion and dehydration we experienced during the hike, we can’t tell you enough how worth it it was to reach the top and see the breathtaking view of Vancouver.
How to Get There
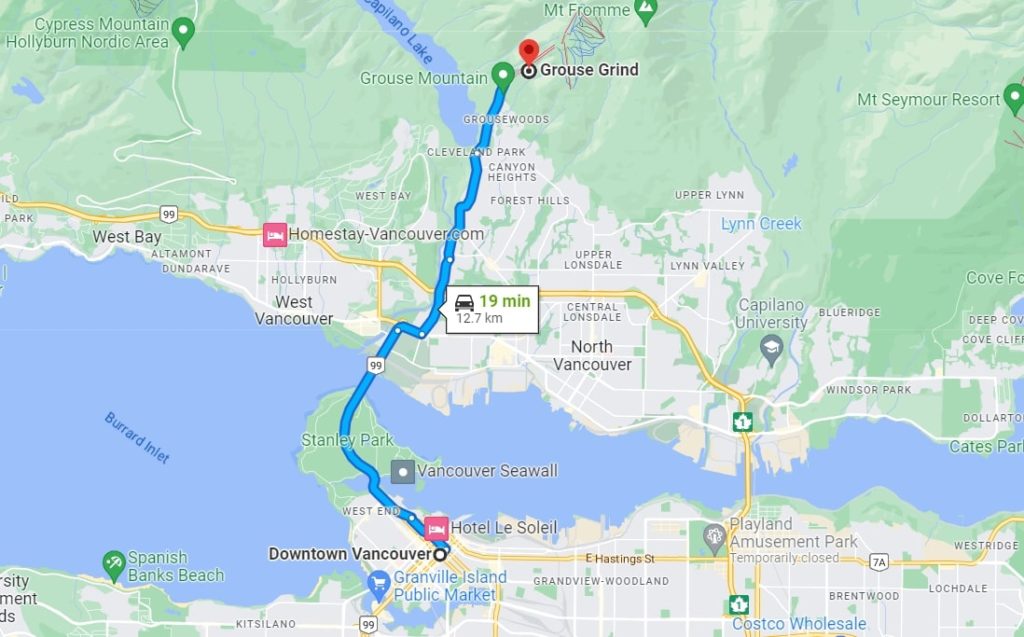
From downtown Vancouver, follow BC-1A and take Capilano Road to Nancy Greene Way in North Vancouver. Continue driving into Nancy Greene Way until you reach Grouse Mountain.
Get driving directions here.
9. Camosun Bog
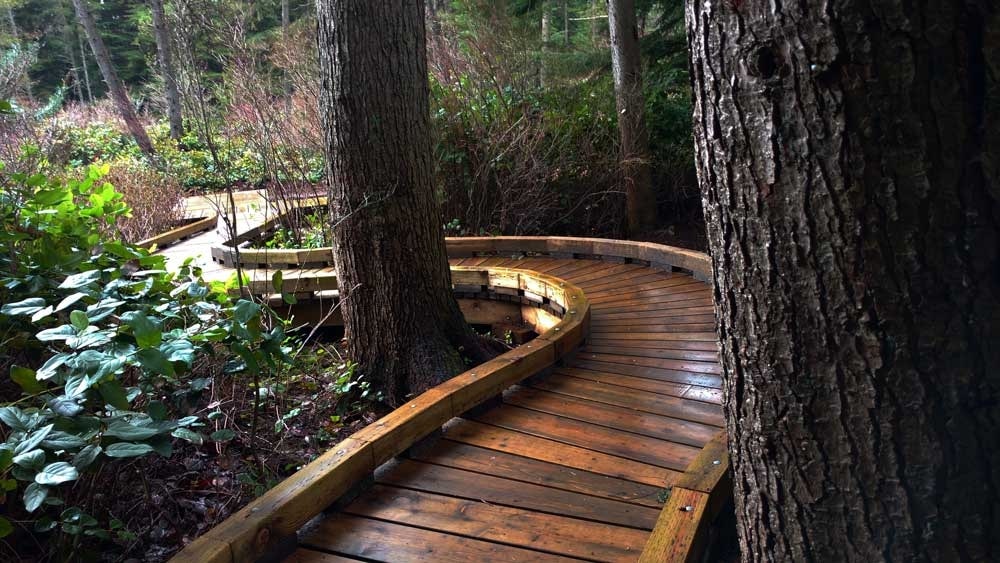
The Camosun Bog in Vancouver was a fact-filled hike for us as the trail had a lot of information boards about the various plants and animals that thrive in the bog, which made it a fascinating experience.
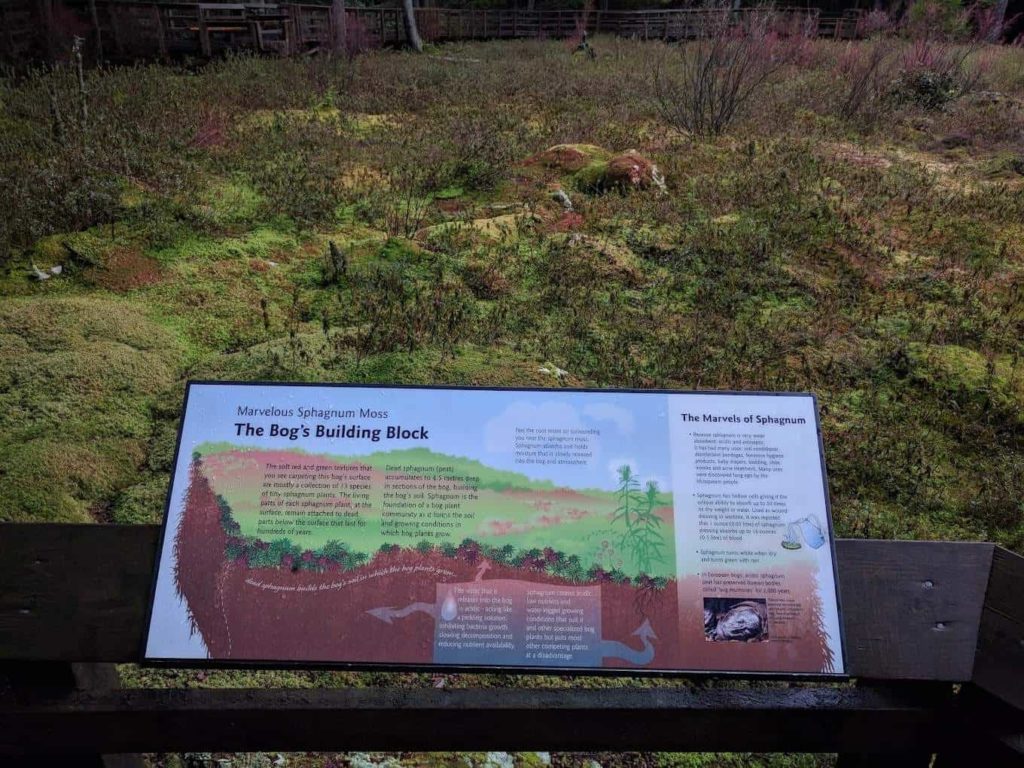
There are also many signs around the bog to help you locate and identify the plants around it. Of course, we had to take a seat to rest and indulge in the abundance of diverse nature around us.
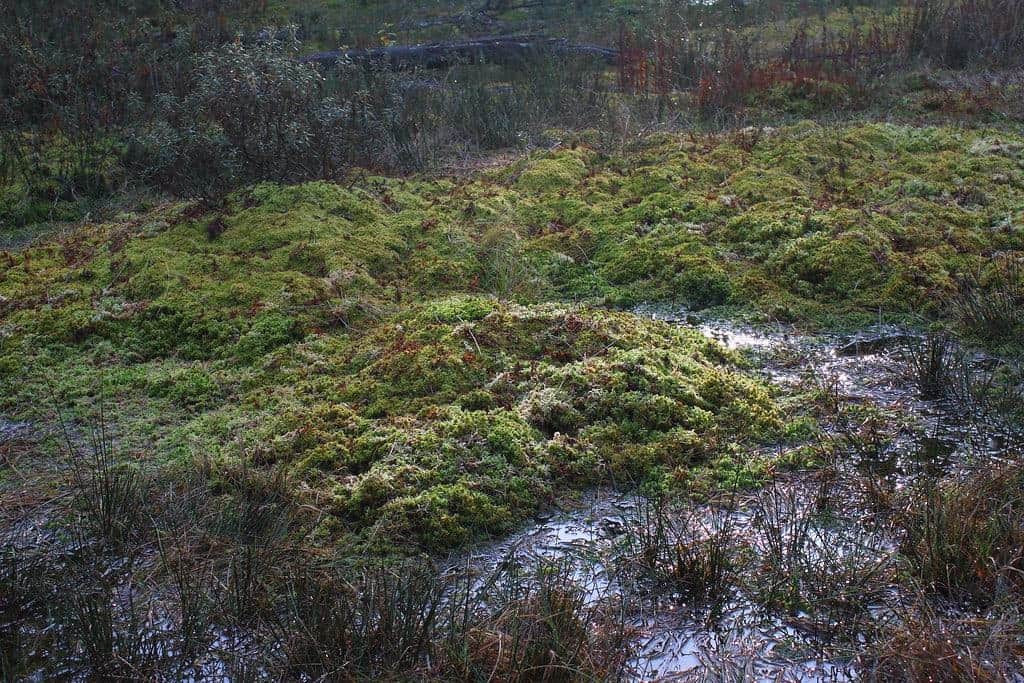
We also highly appreciate how well-maintained the trail is, which makes for an easy walk through the wetlands. The best part? You will get the chance to see an ancient bog that has been there for over 3,500 years!
How to Get There
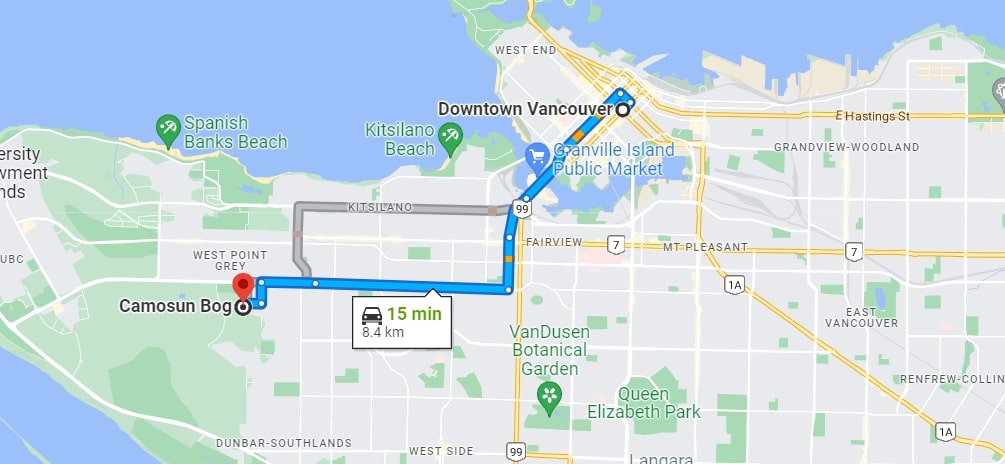
You can get to the Camosun Bog by taking Howe street and W 16th Avenue to Crown Street. Continue driving on Crown Street, make a left and you’ll reach Camosun Bog.
Get driving directions here.
10. Hyannis Trail
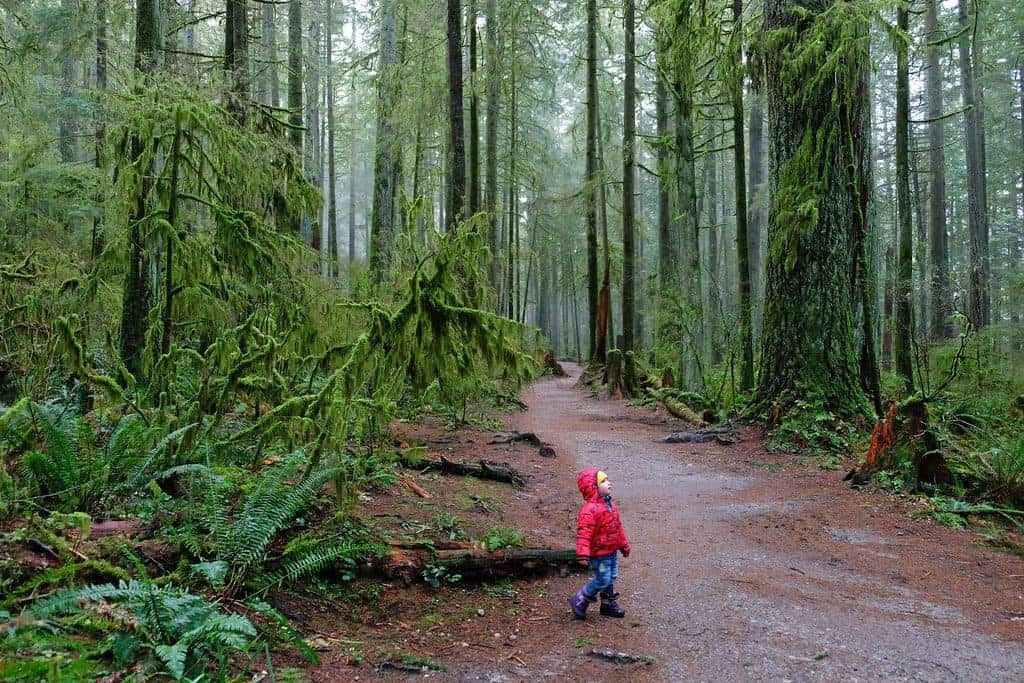
The Hyannis Trail in Vancouver was smooth, wide, and fairly flat. There were many tall trees that lined up along the trail, and you’ll notice that there are a lot of old-growth trees.
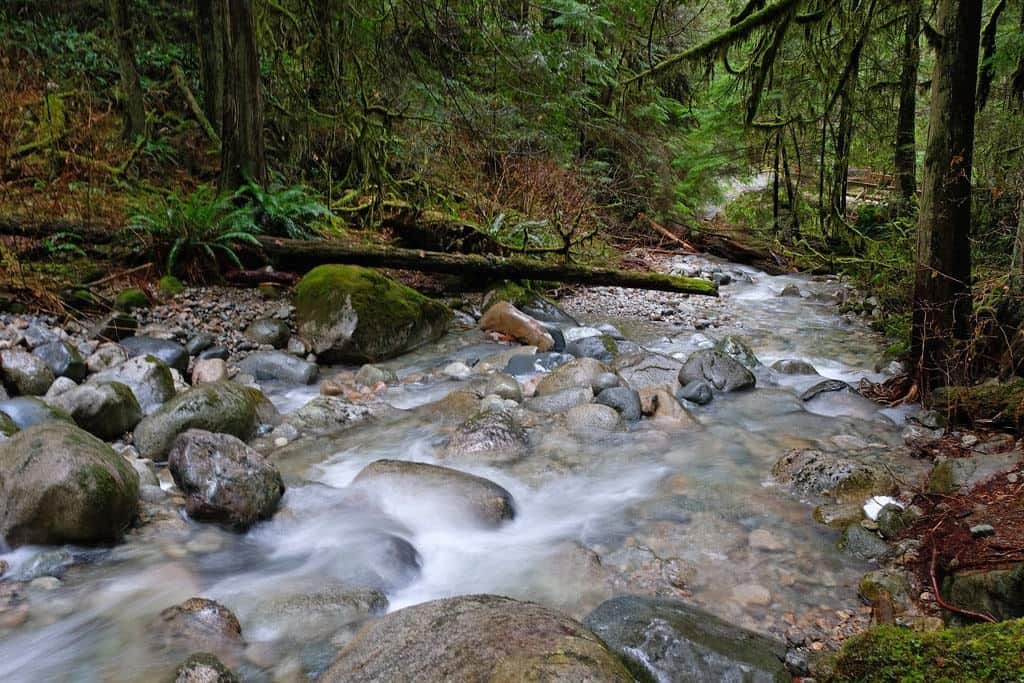
It’s a lovely trail to hike on even on rainy days, as there’s plenty of shade and it’s easy to navigate. Just be aware that hikers share the trail with bikers, so make sure to stay alert just in case some of them don’t follow the trail etiquette.
Apart from that, the trail is definitely an ideal option for beginners and for those looking to take a leisurely hike. When we got there, there was barely any crowd, and we were able to enjoy the peacefulness of nature.
How to Get There
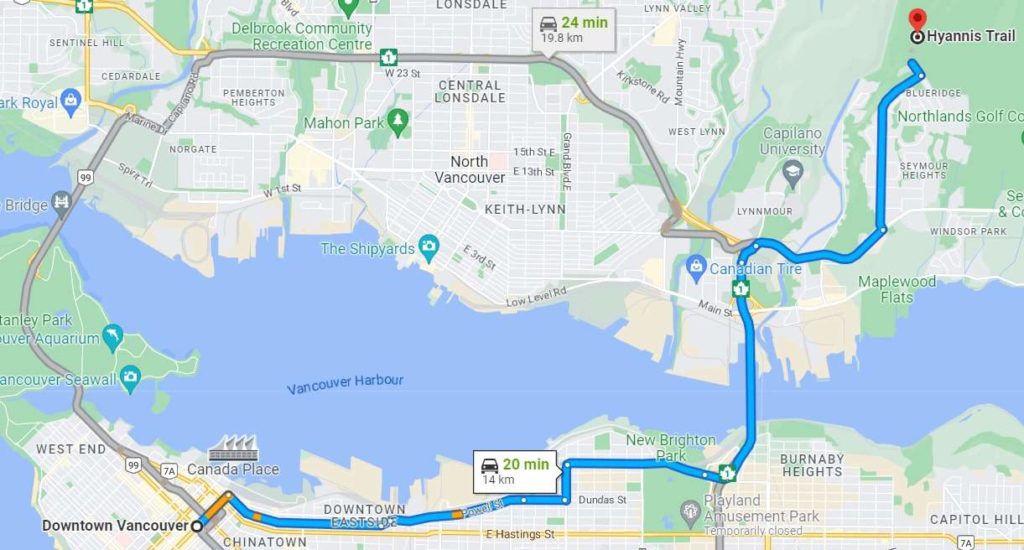
From downtown Vancouver, take W Cordova Street and continue driving towards the Cordova Diversion. Keep driving onto Powell Street and head towards Dundas Street.
Turn left onto Nanaimo Street and drive straight until it becomes McGill street. After this, keep left and head towards the Trans Canada highway and take the Mount Seymour Parkway Exit 22B.
Keep right, and follow signs for Mount Seymour Parkway and continue on Berkley road. You will reach Hyannis Drive where you can park your vehicle.
Get driving directions here.

